2. Double-click the 'My Computer' icon. You should see...

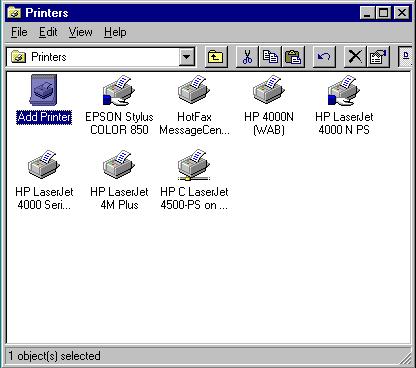
3. Double-click on the 'Printers' icon. You should see (at the least the 'Add Printer' icon) ...
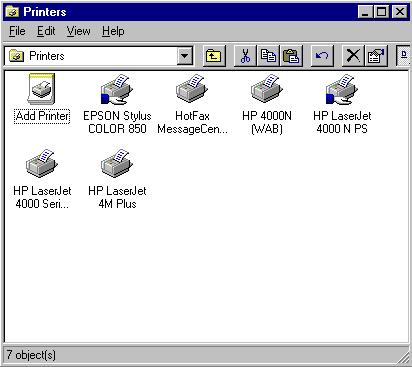
4. Double-click on the 'Add Printers' icon. You should see...
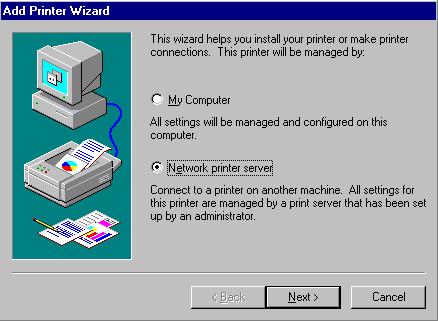
4. Select 'Network printer server' and click the 'Next' button...
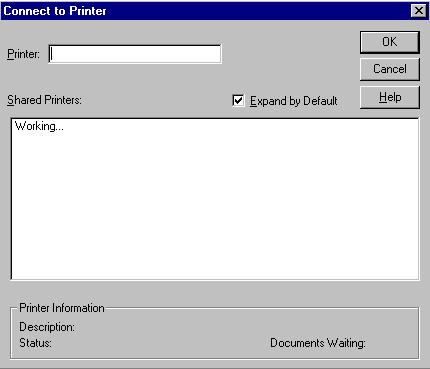
5. At this point the local workstation is "Working..." to compile a list of all available network printers in the domain. After a few minutes, it will yield...
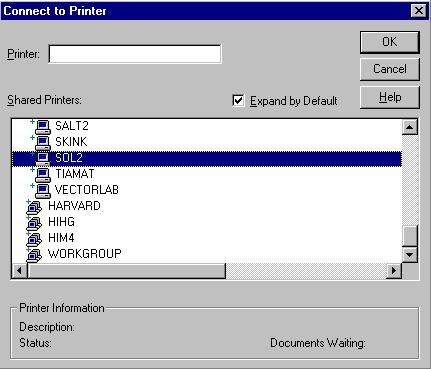
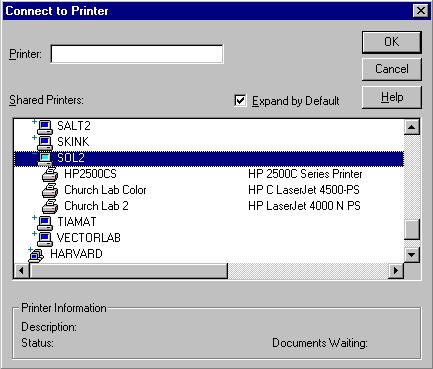
6. Scroll down until you see "SOL2" as displayed in the above graphic. Double-click on SOL2 to display its printers...
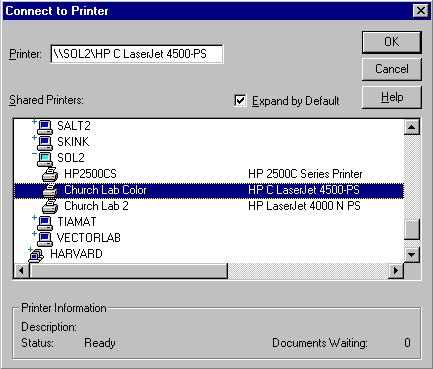
7. Click on the printer you want access to (in the graphic below, Church Lab Color is selected) and click the 'Ok' button.
8. If you already have a different printer attached to your local workstation, you'll get a screen like below. If not, skip to 10.
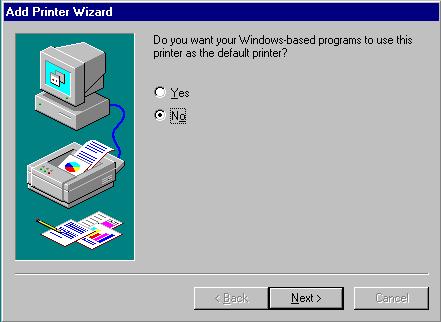
9. If you want the current printer to be the default printer select 'Yes' and click the 'Next' button. If not select 'No' and click the 'Next' button.
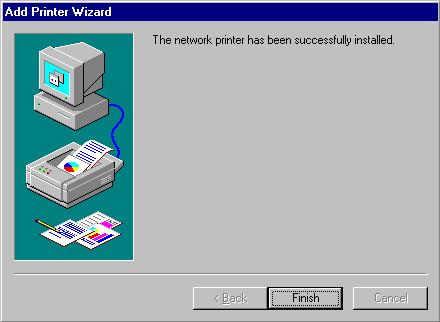
10. Click the 'Finish' button...
11. You should see the printer list with the recently added printer. You're done!!!